How to Disable Password Login in Windows 10
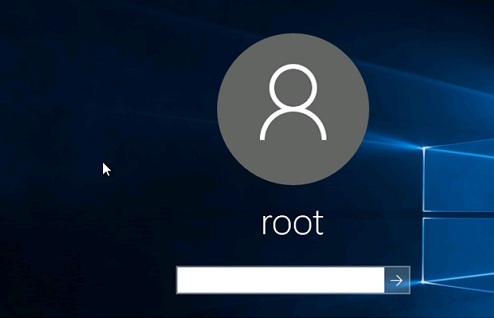
Every time to log to Windows 10, a user has to enter password for local or online Microsoft account. It guarantees a certain level of data protection against access by third parties but it is inconvenient for home users as it increases the time of access to the desktop. This article will tell you how to remove the user password when logging to Windows 10 and configure Automatically Sign-In with a specific account.
Disabling the password input does not mean that the password of your account will not be used. It will just be entered by the system during Windows 10 start. In all other cases, for example, when accessing from the network, you will have to enter it yourself.
How to Disable Password Login in the User Account Settings
The easiest way to disable password login in the settings of user accounts.
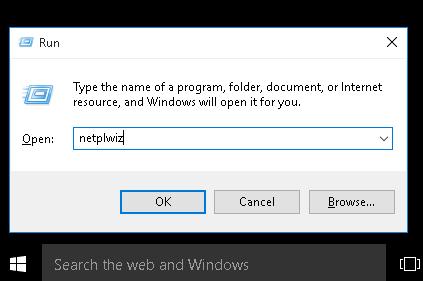
- Press Win+R
- In the startup dialog box, enter netplwiz or control userpasswords2 command
- In the next window with the list of user accounts, uncheck “User must enter a username and password to use this computer” and save changes (OK)
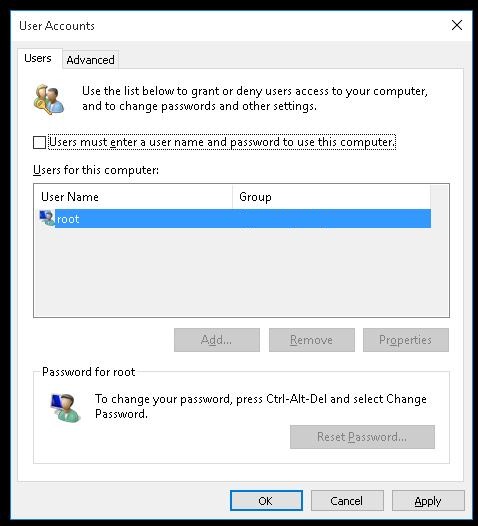
- A window appears where you have to enter your current password twice and click “OK”.

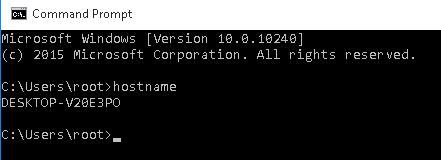
- Restart your computer and make sure that the system starts the desktop without asking for the password.
How to turn on AutoLogon Using the Registry
Let’s consider a more common way to disable password input using the Registry Editor. This way allows to disable password input for a Microsoft account, as well as domain or local Windows 10 account.
- Press Win+R and type regedit
- Go to HKEY_LOCAL_MACHINE\Software\Microsoft\Windows NT\CurrentVersion\Winlogon
- Change the value of AutoAdminLogon to 1
- Create a string value DefaultDomainName, specify the domain name or a local computer name as its value.
- In DefaultUserName parameter, a user account name will be specified, which is used to sign in (do not change it or replace with a login of another user)
- Create a string value DefaultPassword where you have to specify the password of the account
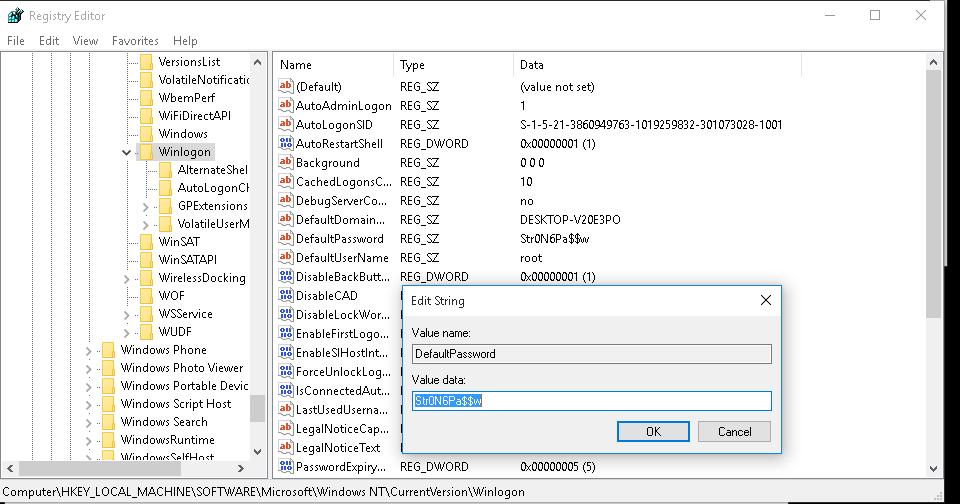
- Close the Registry Editor and restart your computer.
- After the restart, you will sign in automatically with the specified account and with no need to enter the password.
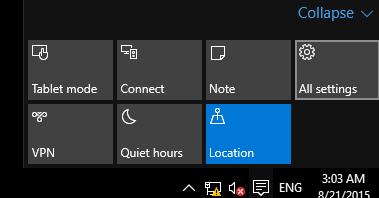
How to Disable Password Input After Exiting the Sleep Mode
You may want to disable password input when your computer exits the Sleep Mode. The easiest way to do it is to use modern Control Panel interface.
- Click a notification icon in the tray and select All Settings
- Go to Accounts -> Sign-in options
- In Require sign-in section, select Never
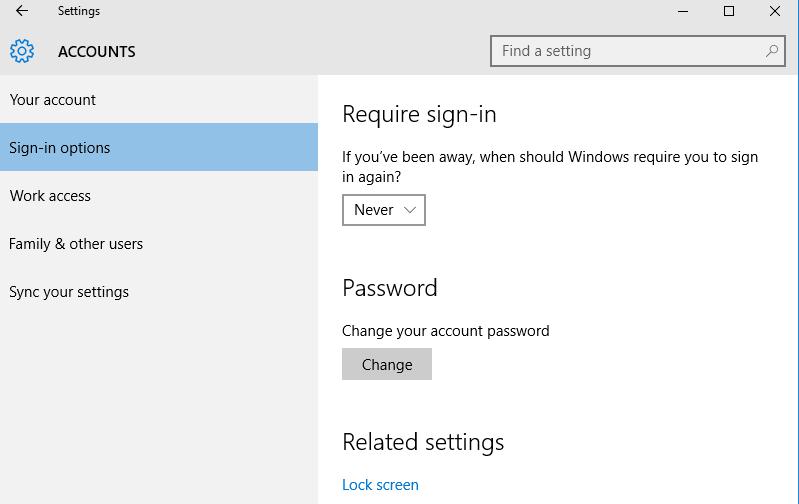
- Now, your computer will not require a password after a wakeup.
Comments
Post a Comment